Configuring the connector
This page describes how to install and configure the connector.
Extract the contents
-
Extract the contents of the
SectigoAviCM-<version>.ziparchive to the current directory. -
Navigate to the directory that contains the extracted files.
-
Give the execute permission to the script files.
chmod +x deploy.sh destroy.sh enroll.sh sectigo_avi_cm_script.py
Install the connector using the Avi UI
The connector can be installed using the Avi UI or a bash script.
-
In Avi Load Balancer, select the Templates tab.
-
From the left navigation panel, select Scripts > ControlScripts.
-
Click Create.
-
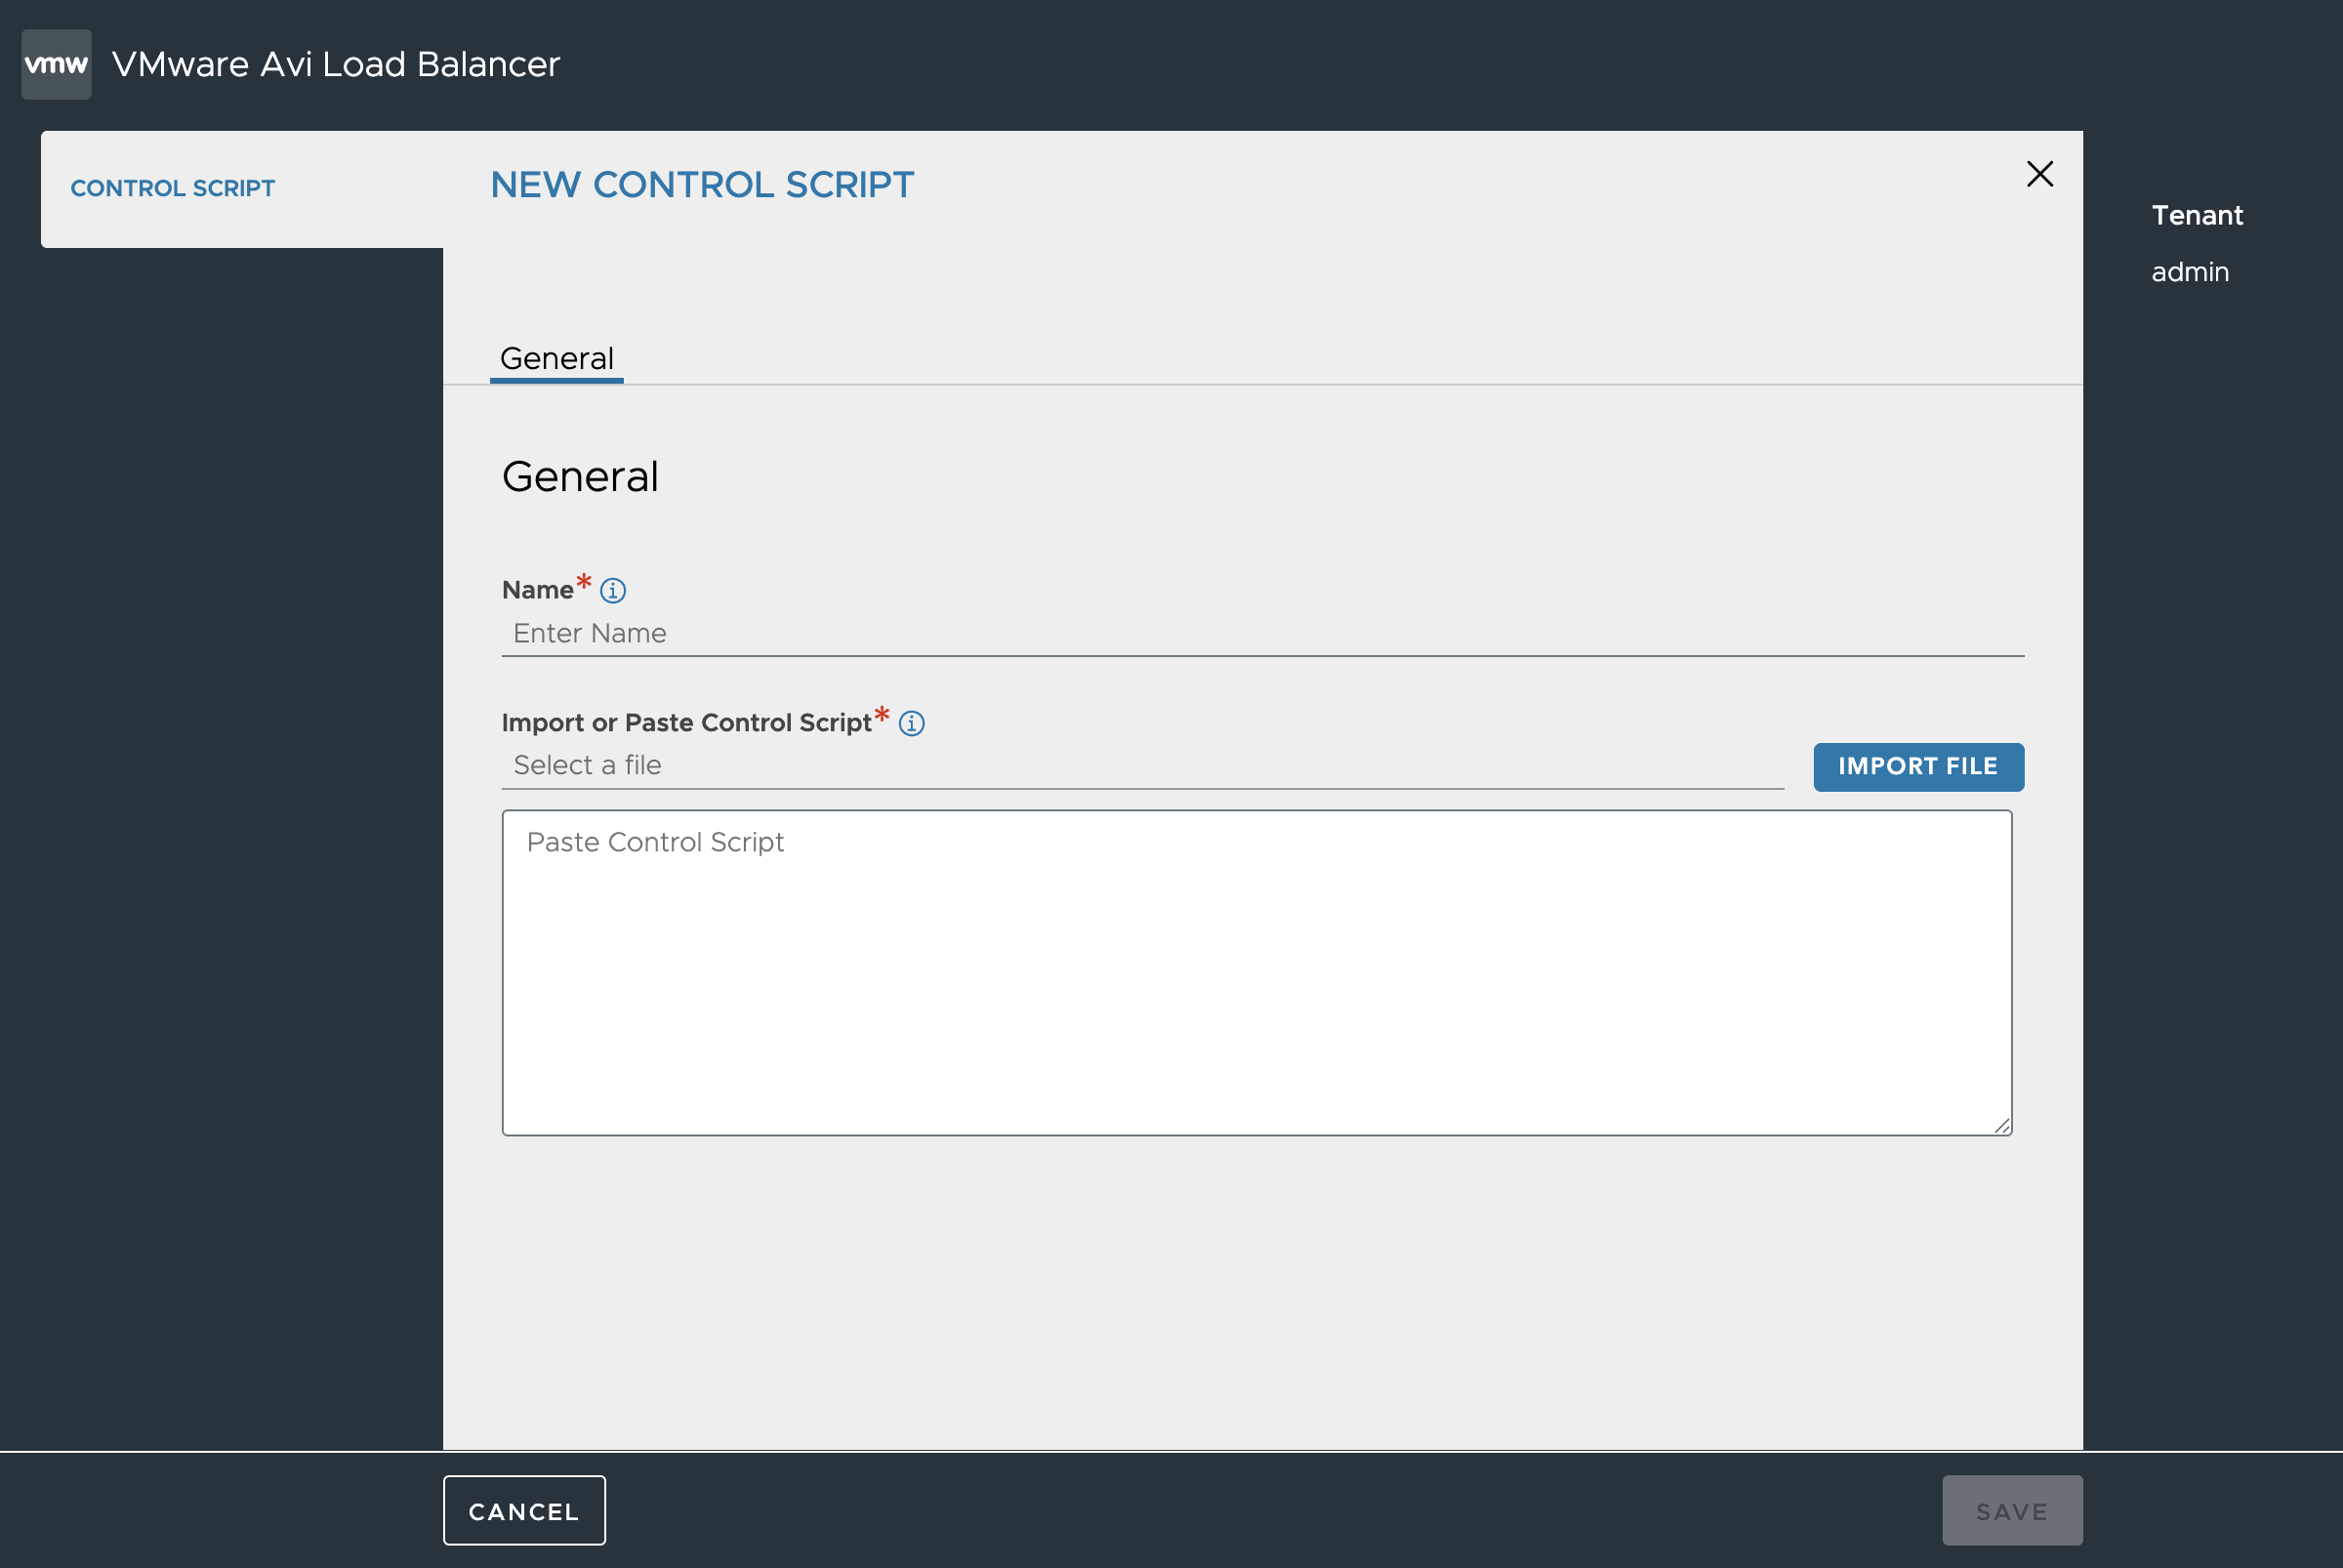
In the New ControlScript window, enter a script name and do one of the following:
-
Paste the contents of the file in the text field.
-
Click Import File and browse to the
sectigo_avi_cm_script.pyfile.
-
-
Click Save.
Configure a certificate management profile
-
In Avi Load Balancer, select the Templates tab.
-
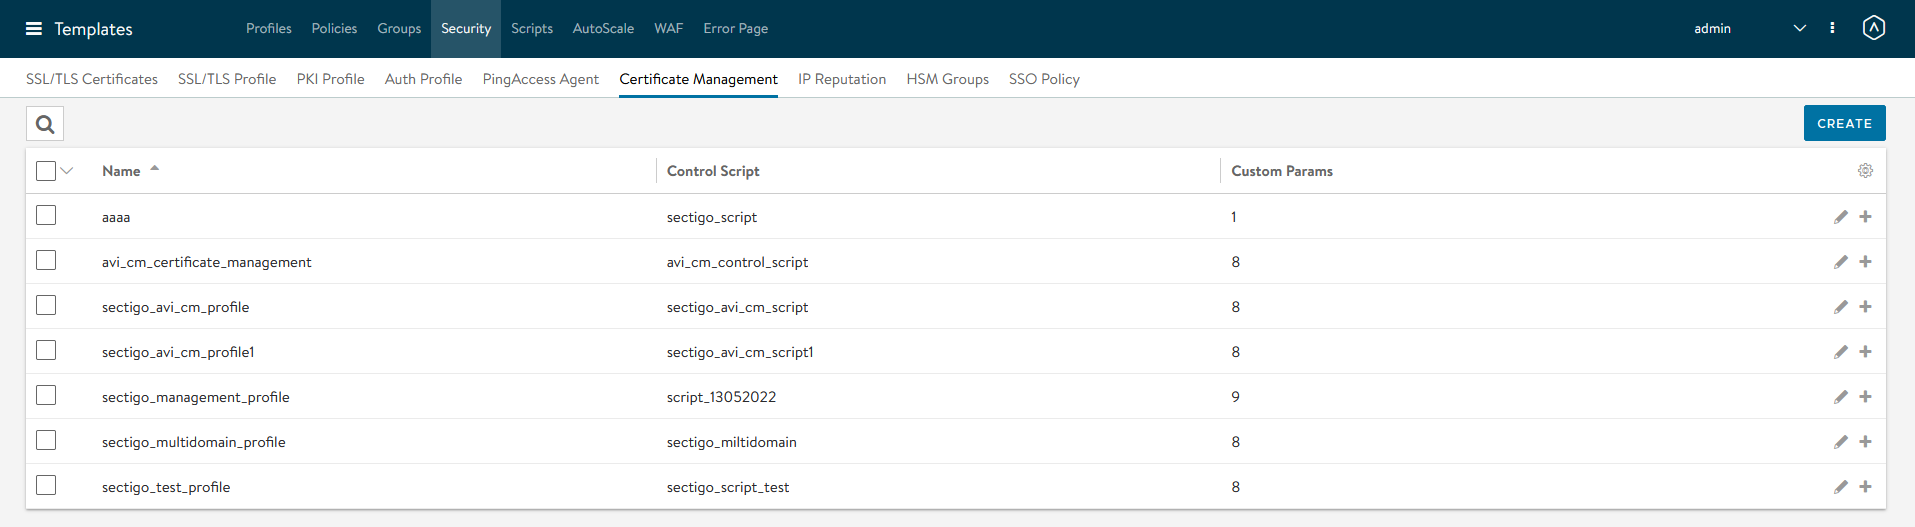
From the left navigation panel, select .
-
Click Create.
-
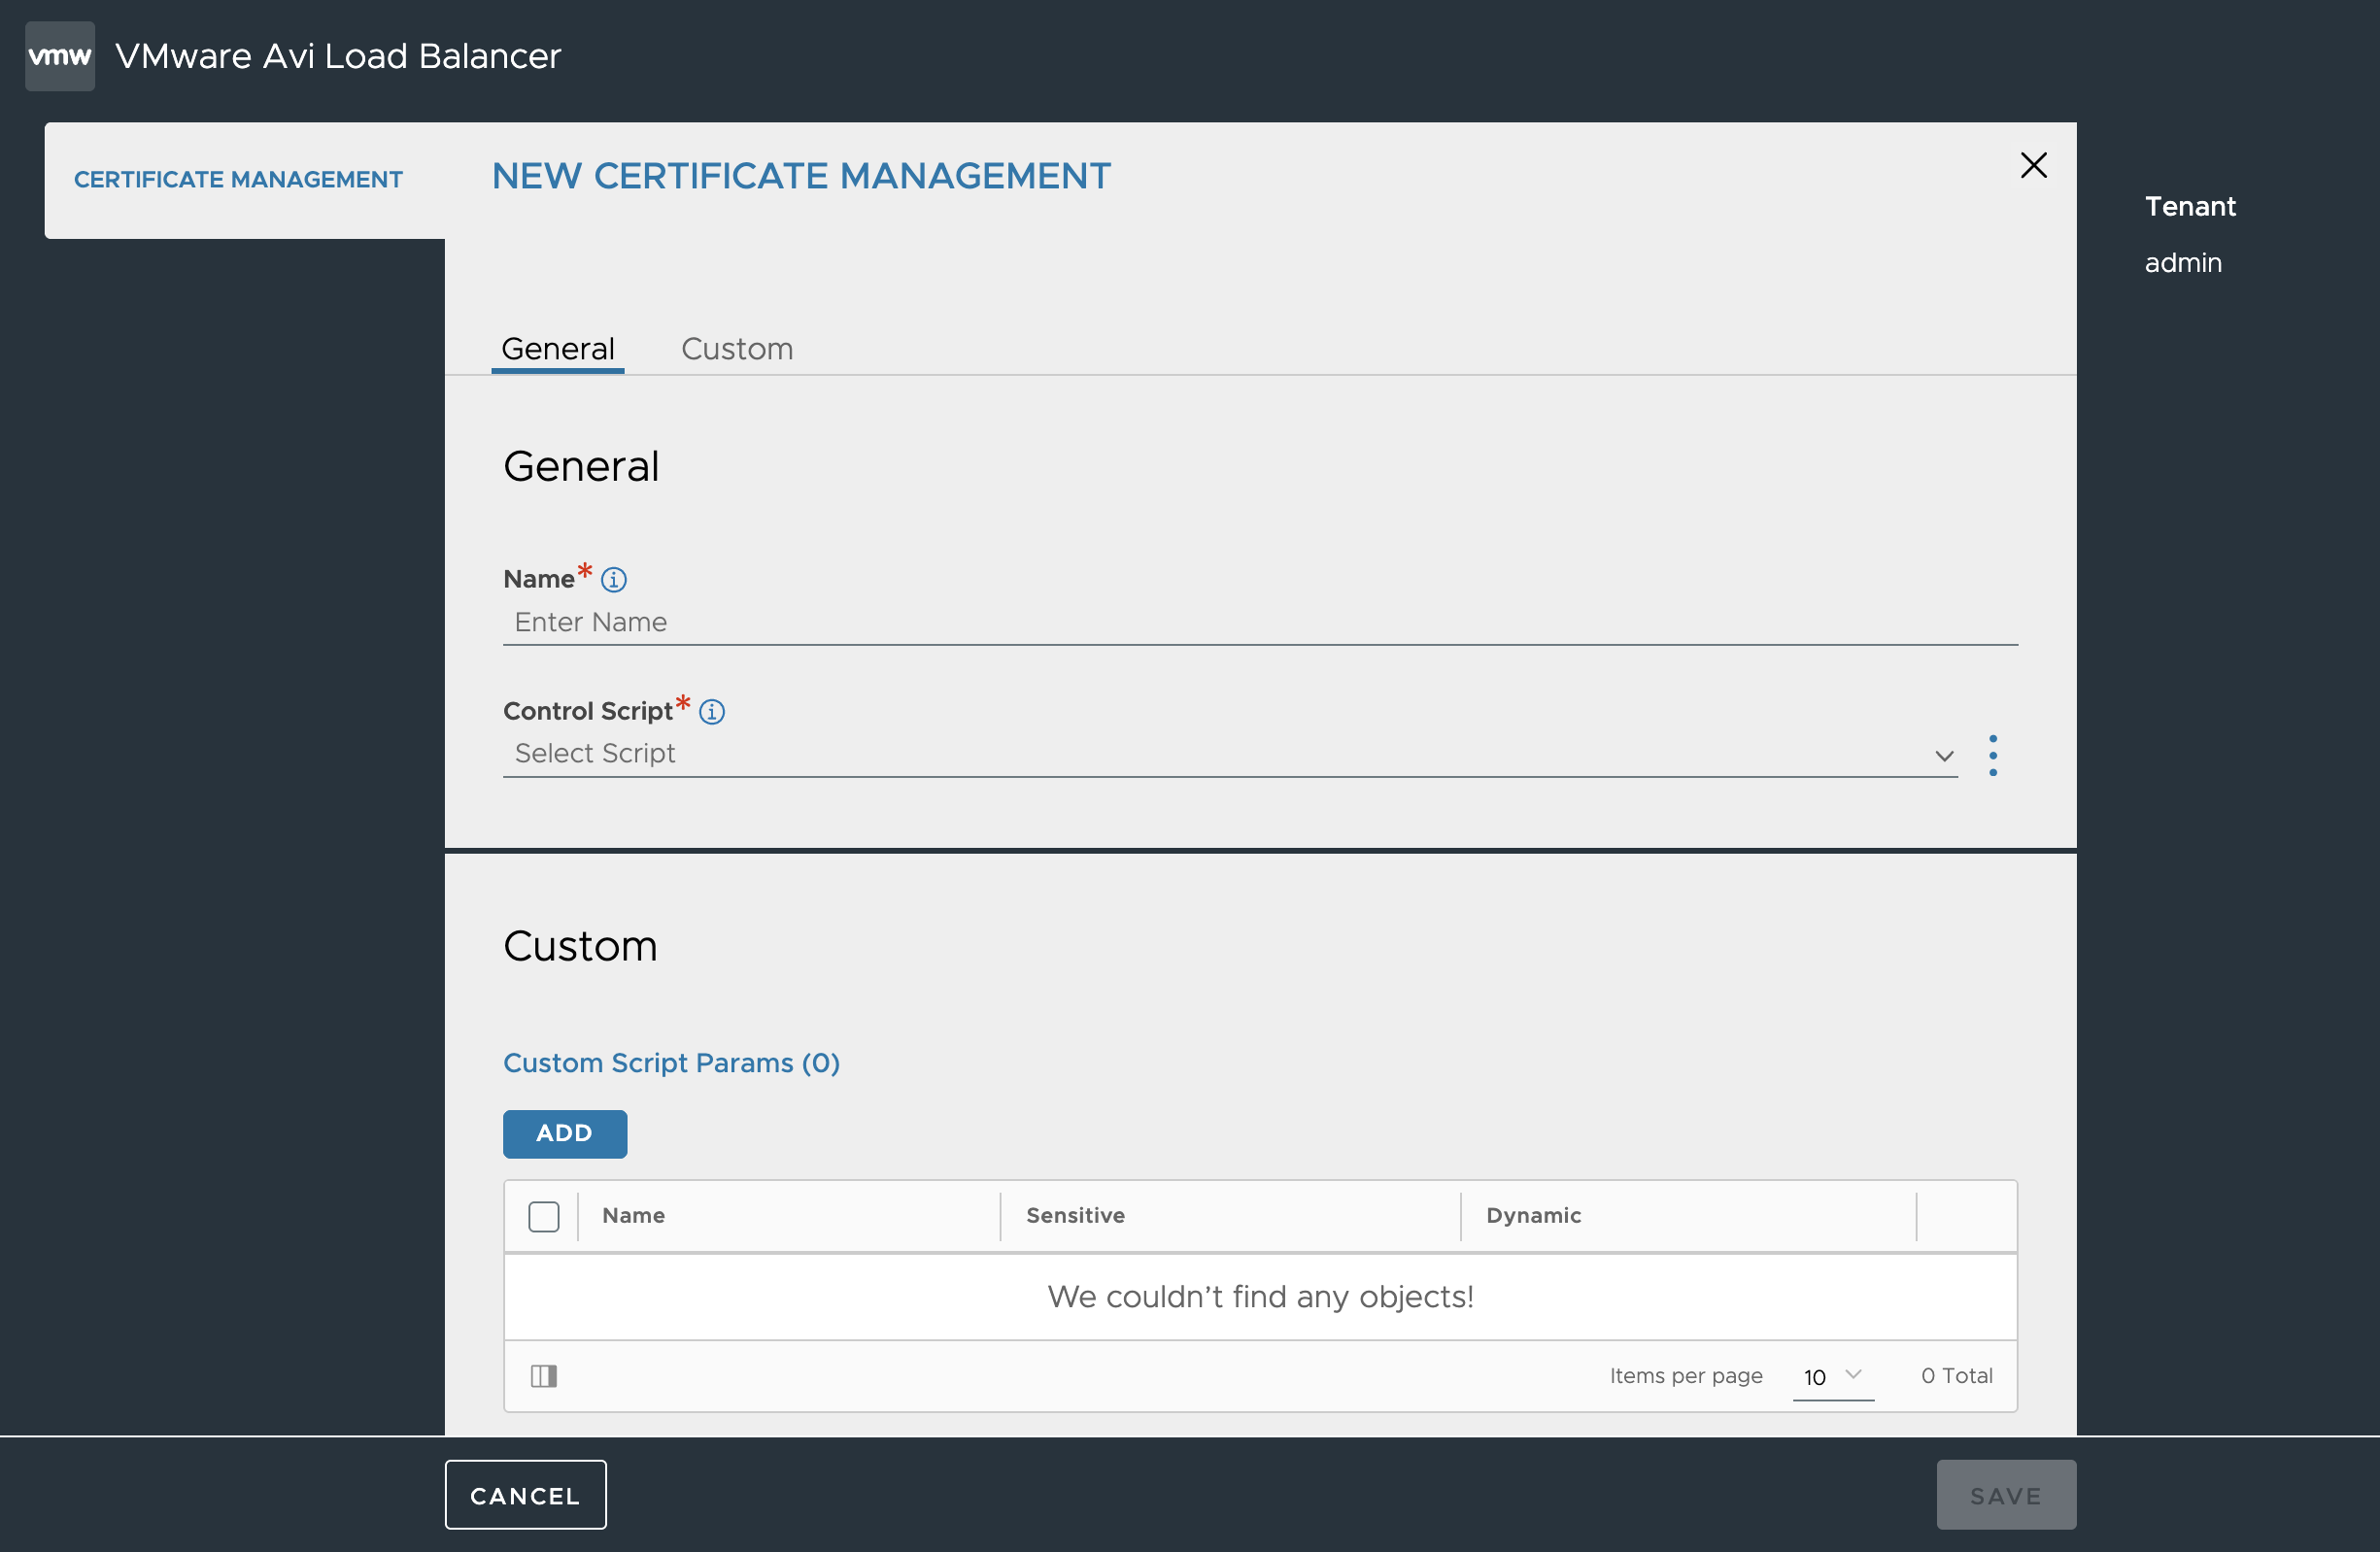
In the New Certificate Management window, complete the fields in the General tab, and the Custom tab, referring to the following table.
Field Description General
Name
Required. The display name for this certificate management profile.
Control Script
Required. The control script this profile invokes. Select the script you uploaded in the previous step.
Custom
IssuerThe name of the certificate issuer. The value of the parameter must be
Sectigo, and the parameter must be marked as dynamic.sectigo_cm_userThe MRAO or RAO administrator username. This parameter should be marked as sensitive.
sectigo_cm_passwordThe MRAO or RAO administrator password. This parameter should be marked as sensitive.
sectigo_cm_base_urlThe base URL of SCM
sectigo_cm_uriThe URI of the SCM account
sectigo_cm_org_idThe ID of the organization (numeric)
sectigo_ssl_cert_typeThe ID of the SSL certificate type (numeric)
sectigo_ssl_cert_validityThe certificate validity period in days (numeric). The values available are dependent on the selected
sectigo_ssl_cert_type.sectigo_custom_fields(Optional) The custom fields from the SCM profile to apply to the requested certificate. The expected format for custom fields is
[{"name":"custom_field_1","value":"value_1"},{"name":"custom_field_2","value":"value_2 "}]. If you’re providing this input as a JSON string, ensure that the internal double quotes are escaped properly using a backslash (\). -
Click Save.
-
If you have not already done so, proceed to configure an alert.
Install the connector using the bash script
The installation can also be completed automatically using the bash script, which is part of the distribution package provided to users on request. You may choose to use the bash script over Avi UI due to the configuration of your own system, automation, or to provide additional options during the installation.
To complete the automated installation, configure the config.json file and run the deploy.sh deployment script on the command line.
The bash installer supports both Linux and macOS.
It auto-detects the operating system, uses the right sed variant for each, and installs jq via apt/wget on Linux or Homebrew on macOS.
Set up the config file
Configure the config.json file.
{
    "avi_server_url": "https://ec-2-3-96-67-113.ca-central-1.compute.amazonaws.com",
    "avi_username": "jdoe",
    "avi_password": "fc1235634972ere",
    "sectigo_cm_user": "john_doe",
    "sectigo_cm_password": "23CkiMJkUc5N",
    "sectigo_cm_uri": "doe",
    "sectigo_cm_base_url": "https://cert-manager.com",
    "sectigo_cm_org_id": "460",
    "sectigo_ssl_cert_type": "1670",
    "sectigo_ssl_cert_validity": "365",
    "control_script_file": "sectigo_avi_cm_script.py",
    "control_script_name": "sectigo_avi_cm_script",
    "management_profile_name": "sectigo_avi_cm_profile",
    "alert_action_name": "sectigo_avi_alert_action",
    "alert_config_name": "sectigo_avi_alert_config",
    "sectigo_custom_fields": [{ "name":"Servers Public IP(or IP Subnet)","value":"192.168.1.1"}]
}
The following table describes the parameters in the file.
| Parameter | Description |
|---|---|
|
The URL of the Avi Load Balancer instance |
|
The Avi Load Balancer username |
|
The Avi Load Balancer password |
|
The MRAO or RAO administrator username |
|
The MRAO or RAO administrator password |
|
The URI of the SCM account |
|
The base URL of SCM |
|
The ID of the organization (numeric) |
|
The ID of the SSL certificate type (numeric) |
|
The certificate validity period in days (numeric).
The values available are dependent on the selected |
|
The name of the control script file (part of the integration package) |
|
The name of the control script to create |
|
The name of the certificate management profile to create |
|
The name of the alert action to create |
|
The name of the alert config to create |
|
(Optional) The custom fields from the SCM profile to apply to the requested certificate.
The expected format for custom fields is |
Run the deployment script
To run the script, use the following command.
deploy.sh| If you have multiple SCM accounts, you don’t need to run the deployment script for each one. Add the Avi profile for every user and select the same control script when deploying the connector. When enrolling a certificate, the connector will ask you to select a specific account. |
The script retrieves any existing mandatory fields automatically from the SCM profile. Existing custom fields are automatically added to the certificate management profile.
New custom fields can be added in the sectigo_custom_fields parameter of the config.json file in the following format.
"sectigo_custom_fields": [{"name":"custom_field_1","value":"value_1"},{"name":"custom_field_2","value":"value_2 "}]During deployment, the following items are created: control script, certificate management profile, and alerts. The deployment is complete once the "deployment finished" message is displayed.
| Previously there had been an issue with re-running the installer if a control script, certificate management profile, alert action, or alert config with the configured name already existed; this is now safe. |